Learn to Surf in Hawaii by Understanding Waves
Hey Wave Catchers! Ready to ride the waves and learn to surf in Hawaii? Awesome! But, hang ten for a second. Before you paddle out, you gotta learn how to read the waves. Yup, it’s a thing! And it’s super important if you wanna catch some sweet rides and not, ya know, wipe out every single time. So, let’s dive into it, shall we?
Learning Hawaii Surf by Understanding the Elements
1. Ocean
Alright, before we get into the nitty-gritty, let’s talk about the ocean for a sec. The ocean is a living, breathing thing, and it’s always changing. Wind, tides, swell direction, and the shape of the ocean floor all affect the waves. So, the first step in reading waves is understanding these factors.
2. Wind
Wind affects the surface of the water and, therefore, the waves. Onshore winds (blowing from the sea to the land) can make the waves choppy and messy. Offshore winds (blowing from the land to the sea) are your best friend—they make the waves clean and well-shaped.
3. Tides
The tide affects the size and shape of the waves. Some surf spots work best at high tide, others at low tide, and some at mid-tide. It’s all about the shape of the ocean floor and how the waves interact with it.
4. Swell Direction
The swell direction is the direction from which the waves are coming. Some spots work best with a north swell, others with a south swell, and so on. It all depends on the orientation of the coast and the shape of the ocean floor.
5. Ocean Floor
The shape of the ocean floor affects how the waves break. A gradual slope will create slower, rolling waves, while a steep drop-off will create faster, hollower waves.
6. Reading the Waves
Now that you have a basic understanding of the ocean, let’s talk about how reading the waves can help you learn to surf in Hawaii.
7. Wave Anatomy
First, let’s break down the anatomy of a wave:
- Peak: The highest part of the wave.
- Face: The front of the wave.
- Lip: The top of the wave that pitches over as it breaks.
- Shoulder: The part of the wave that hasn’t broken yet.
- White water: The foam created as the wave breaks.

8. Wave Types
There are three main types of waves:
- Spilling waves: These are the gentlest type of waves. The lip of the wave spills down the face, creating white water. These waves are great for beginners.
- Plunging waves: These waves have a steep face and a lip that pitches out and over, creating a barrel or tube. These waves are for more advanced surfers.
- Surging waves: These waves don’t really break; they just surge up the beach. These waves are not suitable for surfing.
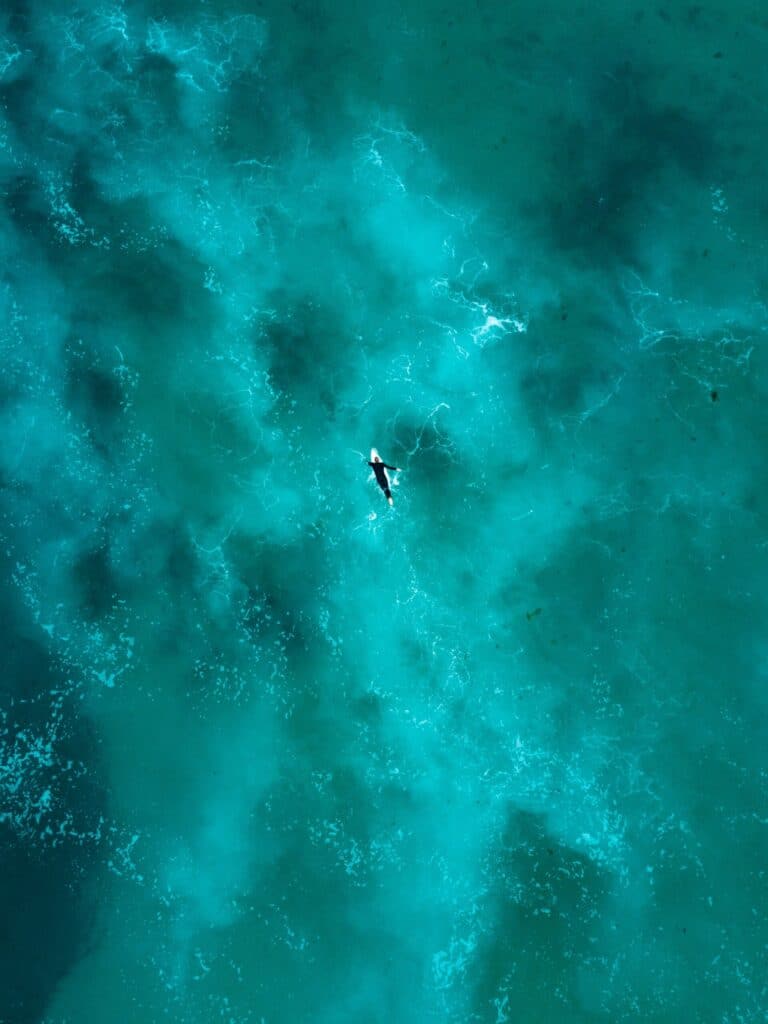
9. Catching a Wave in Hawaii
Okay, now that you know how to read the waves, let’s talk about catching one (your first step to learning to surf in Hawaii)!
- Positioning: Position yourself in the lineup, which is the area where the waves start to break. Make sure you are in the right spot for your skill level. Beginners should start on the shoulder, while more advanced surfers can sit deeper.
- Timing: Timing is everything when it comes to catching waves. Start paddling before the wave reaches you. The goal is to match your speed with the speed of the wave.
- Paddling: Paddle strong and steady. Use deep, full strokes, and keep your eyes on the horizon.
- Pop Up: As the wave picks you up, quickly pop up to your feet. Keep your weight centered and your eyes on the horizon.
Practice, Practice…Surf Lesson
Reading waves and catching them takes practice. Lots of it. The best way to catch a wave when you begin to learn to surf in Hawaii is to take a lesson. Going out with a professional, like the coaches at Jamie O’Brien Surf Experience means you’ll be getting tips from experts!